Create your first AI assistant in FineGuide
liviu
Author
An AI assistant is your always-on digital teammate. It can answer customer questions, guide visitors, collect leads, and help your team stay available even when nobody is online.
This guide walks through the first setup in a simple, practical way.
Before you start
Make sure you can sign in to FineGuide and that your account has permission to create assistants. If you do not see the Create Assistant button, ask an admin to enable access for your role.
Step 1: Open the Assistants page
After signing in, open Assistants from the main navigation.
If this is your first assistant, you will see a clean empty state with a message inviting you to create one. If your workspace already has assistants, you will see them listed as cards.
Click Create Assistant to begin.
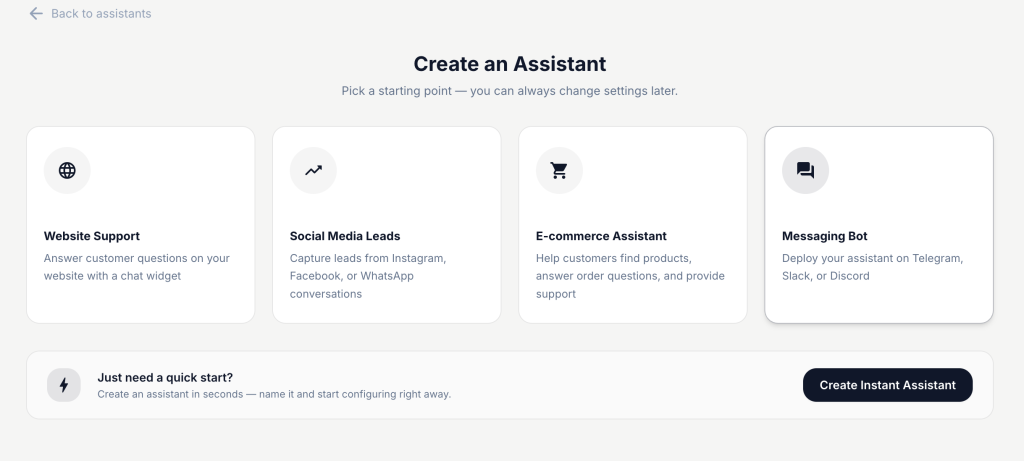
Step 2: Choose how you want to start
FineGuide gives you two ways to create an assistant.
Use a template if you want a guided setup with sensible defaults.
Available starting points include:
- Website Support for answering questions on your website
- Social Media Leads for capturing leads from social conversations
- E-commerce Assistant for product questions, orders, and returns
- Messaging Bot for platforms like Telegram, Slack, or Discord
Use Instant Assistant if you want the fastest possible setup and prefer to configure everything afterward.
A good rule is simple: choose a template if you already know the use case, and choose instant if you just want to get started quickly.
Step 3: Set the assistant identity
Every assistant starts with a few basics:
- Name
Give your assistant a clear, friendly name. - Company
This helps the assistant understand which business it represents. - Welcome message
This is the first message visitors will see, so keep it warm and helpful. - Avatar
Pick an image that matches your brand or assistant personality.
Once these fields are filled in, continue to create the assistant.
Step 4: Continue with the guided setup
If you chose a template, FineGuide may guide you through a few optional setup steps such as:
- Instructions to define tone, behavior, and focus
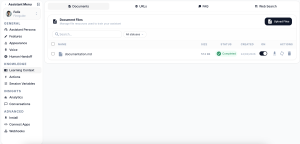
- Knowledge to add website pages or documents
- Theme to match your brand colors
- Install to place the assistant on your website
- Connect Platform for messaging or social channels
- Review to confirm everything before finishing
You can skip optional steps and come back later. The goal is to help you launch quickly, not slow you down.
If you chose Instant Assistant, you will go straight to the assistant after creation and can configure everything from there.
Step 5: Review and test
After creation, open your assistant and check the essentials:
- Is the name correct?
- Does the welcome message sound right?
- Does the avatar fit your brand?
- Is the assistant ready for the channel you want to use?
Before sharing it with customers, send a few test messages yourself. Try common questions, unusual phrasing, and one or two edge cases. This helps you catch gaps early and improve the setup before launch.
What to do next
Once your first assistant exists, the next best steps are:
- Add knowledge so it can answer real business questions.
- Refine the instructions so the tone matches your brand.
- Install it on your website or connect a messaging channel.
- Run a few real test conversations before going live.